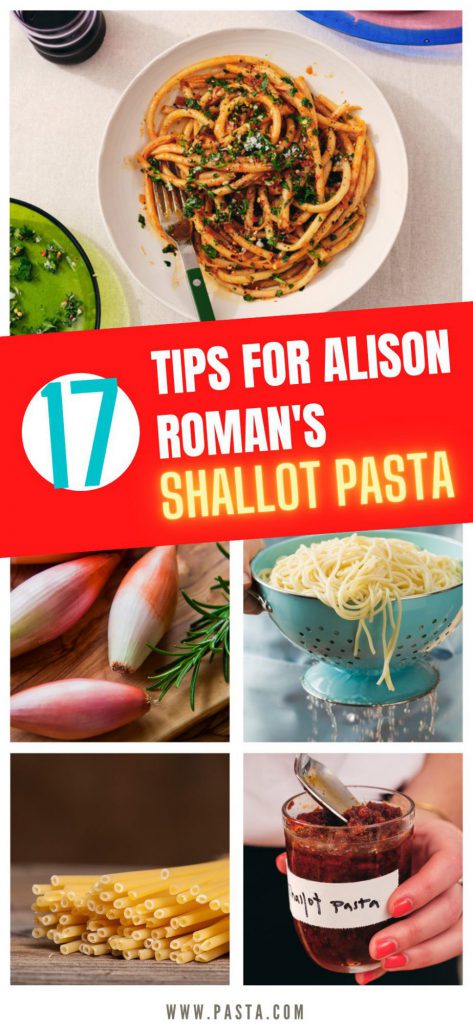
There aren’t many pasta dishes that we categorize as life-changing, but Alison Roman’s shallot pasta might be one of the few. If you’re looking for the full recipe for the caramelized shallot pasta, then look no further. We’ll also review why this pasta (particularly the sauce) is so addicting, and some of the best tricks and tips we’ve found along the way including vegan/vegetarian options and some great ideas for that leftover pasta sauce. We have a lot of great tips to uncover, so let’s dive into it!
The ‘Happy Accident’ of Caramelized Shallot Pasta
It’s so great to hear Alison’s recollection of how this pasta dish came to be. It was kind of a “happy accident” and boy, are we glad it occurred. It seems that she celebrates Christmas Eve with a group of family and friends every year, and one year the theme was ‘Feast of the Seven Fishes’ (which if you don’t know, is an Italian Christmas Eve tradition which consists of a huge seafood-themed meal).
She knew that people would bring a dozen of dishes with fish as the star so she wanted to focus on a fish-adjacent meal, more specifically, a pasta dish with anchovy in the sauce. The “happy accident” part occurred when she realized that they had an abundance of shallots. So lucky for us, the ‘anchovy pasta’ became the ‘shallot and anchovy pasta’, because honestly, we can’t imagine this pasta without one or the other.
Did you say there’s anchovies in this dish?
Yes, I did. And trust me, the sooner you get over that fact, the sooner you can enjoy the best pasta dish you’ll ever make at home. As you can probably tell I am not a fan of anchovies. And actually I hate to admit that I waited quite a long time debating if I should even try this recipe. It took months of reading so many rave reviews that I finally took the plunge and I’m so glad that I did.
You guys, this pasta sauce is so amazing and full of flavor that you can’t even tell there’s anchovy in it. This is likely because it’s balanced with the sweetness of the caramelized onions and the slight spice of the red pepper flakes. The anchovy isn’t at all fishy like I thought it would be, but it actually provides a deep umami flavor that I just cannot get over. Just try it once and trust me, you will want to slather this sauce all over everything you eat. Trust me on this!
But if for whatever reason you still can’t get over the anchovy’s presence, don’t worry, we got you covered. In our list of tips below we go over a couple of ways to minimize the anchovy taste, or substitute it altogether (which is especially great if you’re vegetarian / vegan but want to still try this recipe).
The Recipe
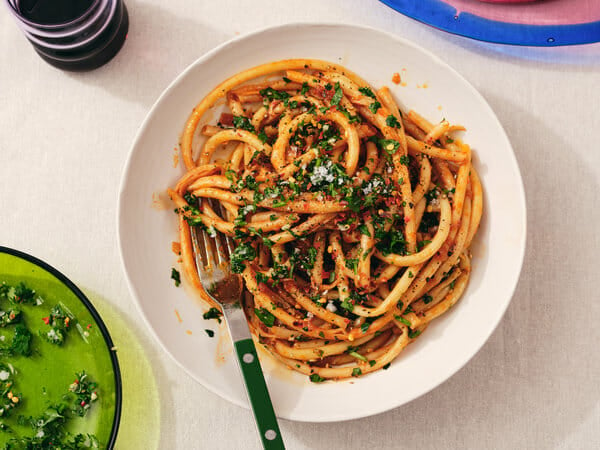
Ingredients (Yields 4 Servings)
- 1/4 cup olive oil
- 6 large shallots, sliced very thinly
- 4 garlic cloves, finely chopped
- Kosher salt and fresh black pepper
- 1 tsp red-pepper flakes
- 1, 2 oz can anchovy fillets (about 12 anchovies), drained but not rinsed
- 1, 6 oz can tomato paste
- 10 oz pasta (any long or tubular pasta – like bucatini or spaghetti)
- Parsley to top (optional)
- Parmasean (optional)
- Flaky salt (optional)
PREPARATION
- In a large heavy-bottomed Dutch, heat olive oil oven over medium high. Add garlic and shallots, seasoned with salt and pepper. Stirring occasionally, cook until the shallots are softened and caramelized, 15 to 20 minutes.
- Add in anchovies and red-pepper flakes. (The anchovies will dissolve, so no need to chop them). Stir until the anchovies melt into the shallots, about 2 minutes.
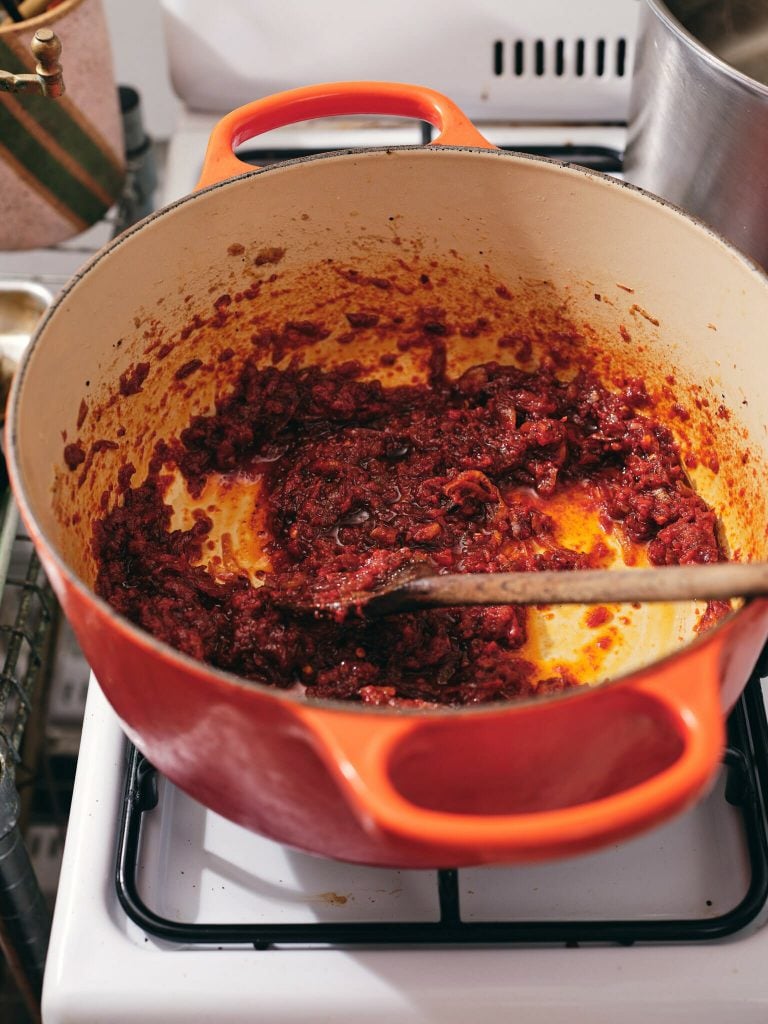
- Add tomato paste, seasoned with salt and pepper. Let the tomato paste cook in the oil until it goes from bright red color to a deep brick color, about 2 minutes. Remove it from heat and put half the mixture in a resealable container, to store for a later use. (This will be leftovers to be used elsewhere)
- Follow the package instructions for the pasta that you’re using, until very al dente. Transfer to the Dutch/skillet oven with the remaining shallot mixture and add 1 cup of pasta water. Cook the noodles with the sauce over medium to high heat, until the sauce has reduced and is sticky, but not too saucy, 3 to 5 minutes.
- In a separate bowl, combine some finely chopped garlic clove and parsley, seasoned with flaky salt and pepper. Divide pasta among serving plates and top with the garlic and parsley mixture. Can also add a bit more red-pepper flakes.
Click here to view the recipe on NY Times – Cooking
Caramelizing the Shallots
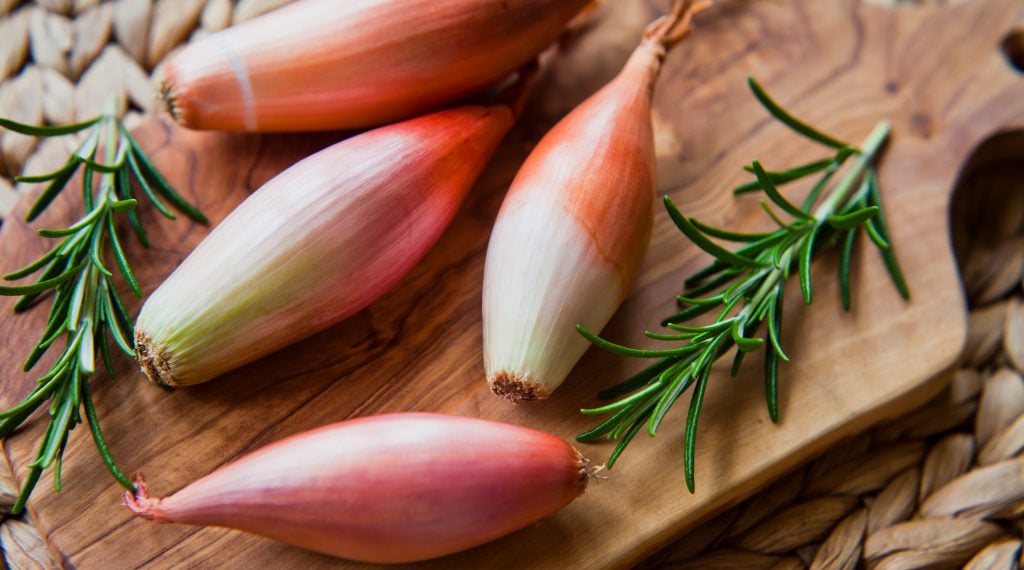
1. Slice Shallots and Garlic Very Thinly
The first part of the recipe requires slicing the shallots and garlic before throwing them into the pan. The trick is to slice them as thin as possible – this will help them break down and caramelize evenly.
2. Use a Mandoline
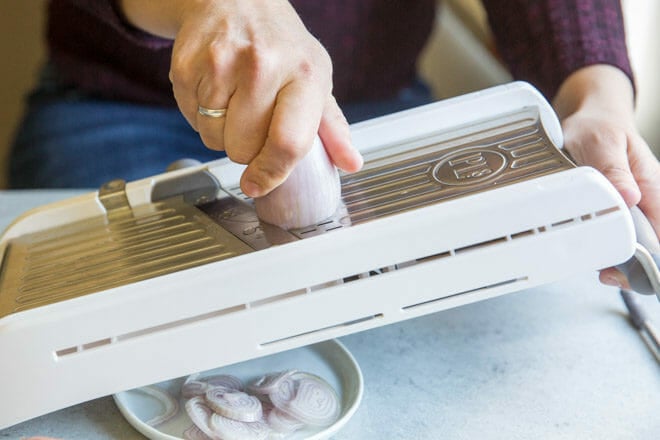
If your knife skills are anything like mine, then that last tip of slicing the shallots and garlic thinly probably gave you a little bit of anxiety. I don’t know why, but I’m always concerned about slicing items thinly, especially when they’re small or don’t lay completely flat.
Also, you don’t need my knife-anxiety as an excuse to use a mandoline. They are also just great to use if you want consistency in your slices or to cut down on some of the prep time.
3. Dealing with “Crying Onion Eyes”
I have super sensitive eyes in general. But there’s nothing quite like slicing shallots and onions. Other than wearing googles, there aren’t too many things that can alleviate this for me. I’ve read that freezing the onions keeps the chemical ‘suberin’ from being released, which is what causes the eyes to burn. But for some reason I feel super guilty freezing ingredients when I have the option to only use fresh ingredients. Plus I honestly don’t know how the process of caramelizing frozen onions will go, and it’s not a risk I’m willing to take.
The best thing that’s worked personally for me is to put my dining table ceiling fan on high, and slice my onions/shallots directly underneath it. This doesn’t get rid of the crying completely but I feel like it helps a lot.
4. Use Medium-Low Heat

The recipe states to use medium-high heat, but I honestly feel like this will cause the shallots to burn. The process of caramelization is a purposefully slow and drawn-out process. Trying to speed this up will only take away from the full flavor potential.
5. Sprinkle in a Pinch of Salt
Sprinkling salt over the shallots will help draw out the water and dissolved sugars. While drawing out the water might make the browning process take a little bit longer, it’s worth this extra time cause you’ll get a better flavor profile and a more even caramelization.
6. Deglaze the Pan with Stock
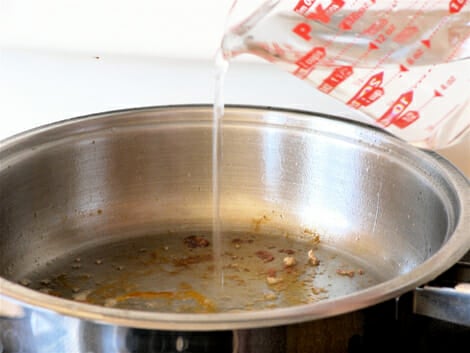
When you’re caramelizing any alliums (onions or shallots), you can deglaze the pan with a small amount of stock (chicken, beef, or vegetable). I will usually place the stock on a different burner to warm it up, then will add a little bit of it to the caramelization pan when the sugars start to stick to the bottom of the pan. Deglazing the pan will keep your shallots from burning, while adding more flavor to the caramelization.
7. Substituting the Shallots
The recipe calls for 6 shallots and honestly there isn’t anything that you can really swap that will yield the same result. Shallots have a delicate, sweet flavor with a hint of garlic, that make them so great to work with. But if you just can’t find any for any reason, we have a couple of options to try.
- 1st place: Shallots. This is what the recipe calls for and is perfection for this recipe.
- 2nd place: Sweet onions, which are a good choice since they don’t have that astringent taste that most onions have.
- 3rd place (tie): Yellow and red onions, which aren’t as sweet as sweet onions, but are very similar to one another.
- Last place: White onion. If you need to use the red, yellow, or white onion, we recommend decreasing the amount used in the recipe by a little bit, to ensure it’s not too onion-y.
Adding in the Anchovies
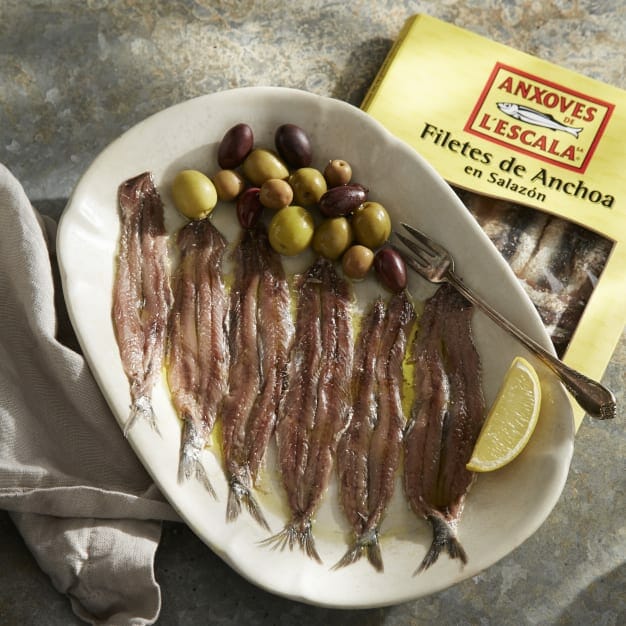
8. Adjusting the Anchovy Flavor
Depending on your level of tolerance for anchovies, you can adjust the amount of anchovy flavor that is added to the pasta sauce. We have outlined the best 3 options for turning the anchovy flavor up, or dialing it down, so you can tailor it to your preference.
- Heaviest – Entire anchovy can, including the oil
- Medium – Adding only the anchovy fillets (without the oil)
- Lightest – Using anchovy paste
9. Anchovy Substitute

For those that are vegetarian / vegan or those who really can’t stand the thought of adding anchovy, we’ve come up with several options. Keep in mind that there is no ingredient that is comparable to anchovies. Yes, you can find items that are equally salty, but anchovies have a deep umami flavor which is unmatched. While these are great options, you are only getting about 50-70% of the flavor profile with these other substitutions.
The best substitute option in my opinion is dark miso paste. If miso is difficult to get a hold of, the following are also decent options (in no specific order): olive tapenade, smashed capers, dried mushrooms, soy sauce, Umeboshi paste, or sun dried tomatoes soaked in water.
The Pasta
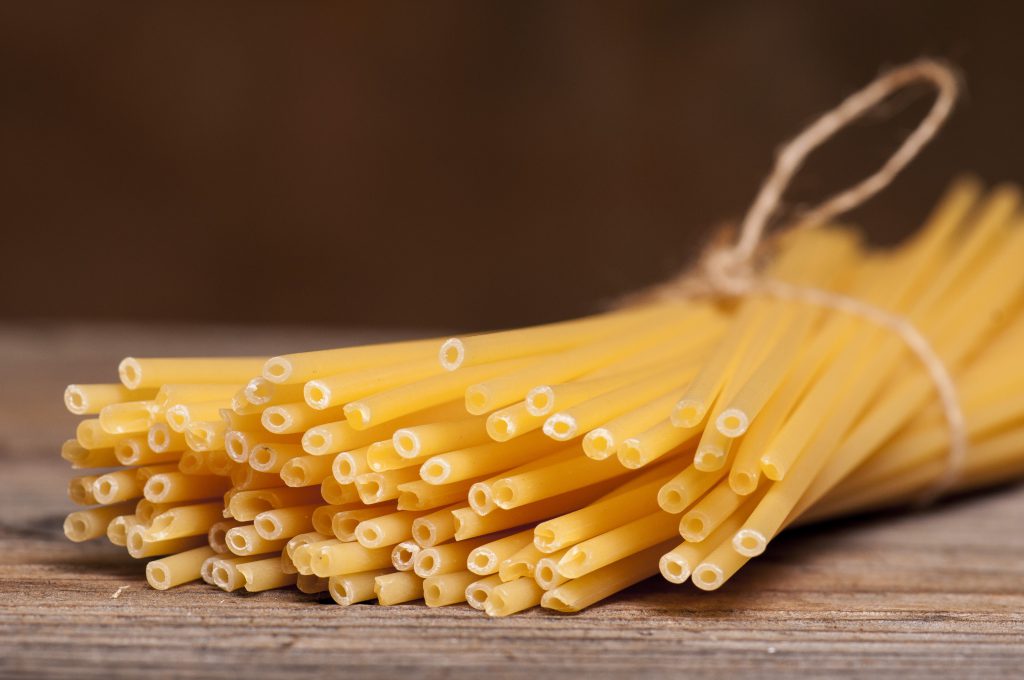
10. Use a Long Noodle or Tube Pasta
Since the sauce in this dish has a nice glossy slip, it will work well with long or tubular pastas. You can use bucatini, pappardelle, spaghetti, or even fettuccine. You really can’t go wring with the noodle selection, but I typically like chunky sauces with short noodles, and slippery sauces with long noodles since they coat the noodles better.
11. Immediately Move Pasta Around in the Water
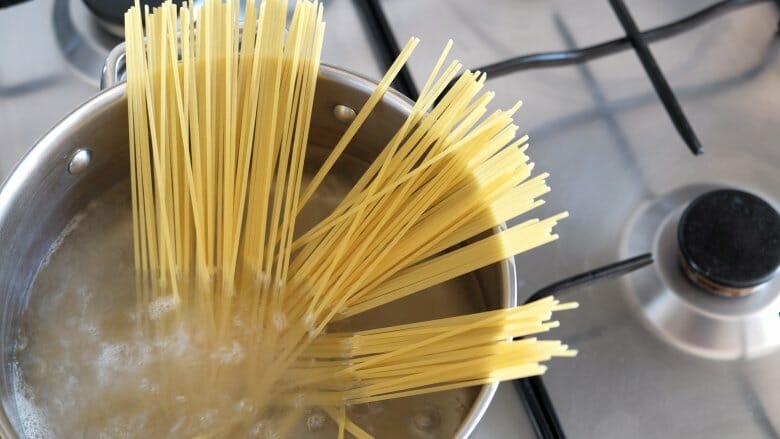
I think most people know to stir pasta in boiling water occasionally, but an even better tip is to stir the pasta the moment it hits the water. Why? Because the highest chance of the noodles sticking together is when they first soften. Stirring the pot immediately will help with keeping this from happening.
12. Remove the Pasta When Al Dente
There’s nothing I hate more than over-cooked pasta (ok, that’s an exaggeration, but let’s just say that i really dislike over-cooked pasta). Since we’ll be adding hot pasta water to the sauce, the pasta will continue to cook up a bit even after it’s been pulled from the water. This is why for this recipe you’ll want to pull the pasta out of the water when it just becomes al dente.
Finishing the Sauce
13. Toast the Tomato Paste
Ever notice how raw tomato paste has kind of a weird metallic flavor? You can take the edge off by toasting the tomato paste in the oil for a bit. You’ll know it’s ready when the tomato paste goes from a bright red, to a deep brick red color.
14. Save Some of the Pasta Water
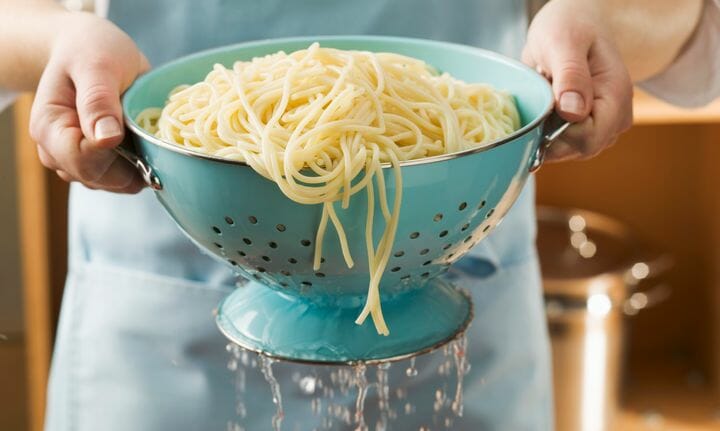
Have you ever drained pasta over the sink? Whatever you do, make sure to always save your pasta water instead of letting it run down the drain. Not only can it be used in a bunch of ways later, it is really great at loosening the pasta sauce to make sure there’s a nice glossy slip.
Make sure you set a decent amount of pasta water aside when you drain the noodles. I like to reserve at least 2 cups of pasta water so that I can slowly add as much of what’s needed to loosen up the sauce in this recipe.
15. Add a Bit of Lemon
I’m not really sure of when I got into a habit of this, but I like to add a squeeze of lemon to everything. I think it first started with seafood dishes, but somehow it’s grown to be a lot of the dishes I make, especially all of my pasta dishes.
Since there’s seafood in this (the anchovies), I decided to add a little bit of lemon zest with a nice big lemon juice squeeze. Don’t get me wrong, this dish is amazing no matter what, but I felt like the lemon helped to brighten it up a bit.
Final Thoughts
16. What to Use that Leftover Pasta Sauce On
We love that this recipe makes you use an entire can of tomato paste, instead of just using a portion of it. This is great for a couple of reasons:
First, we hate waste and let’s be honest…half of a can of tomato paste in your fridge will eventually just go in the garbage. You’ll have intentions of using it up, but if you’re anything like, you probably won’t.
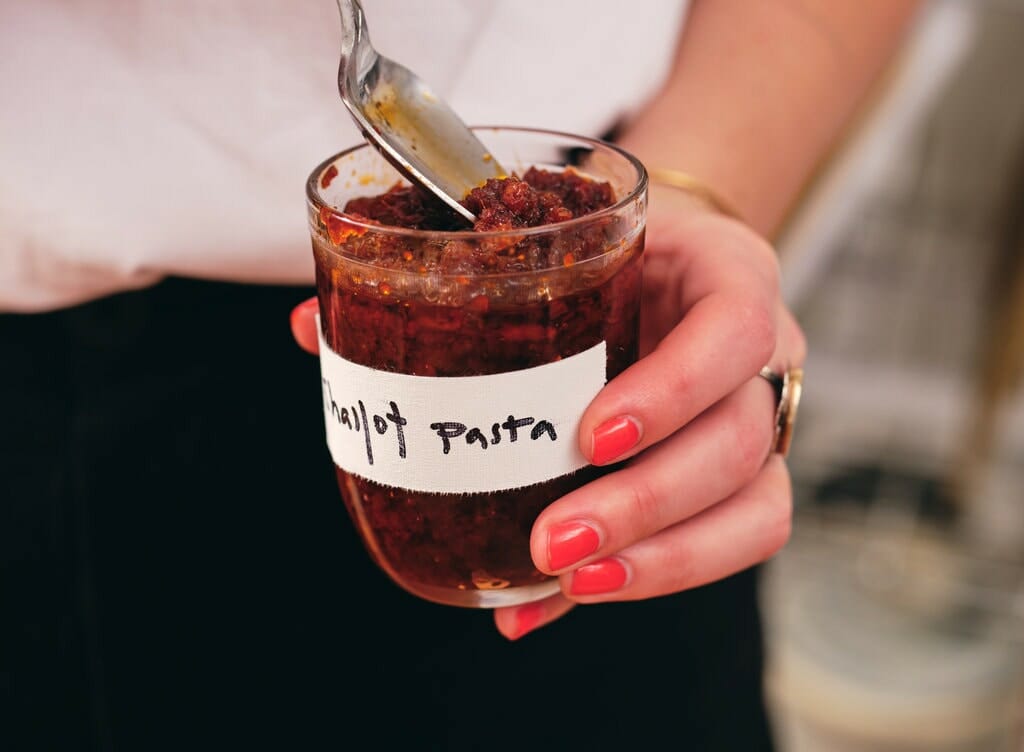
Second, this recipe makes double the amount of pasta sauce you’ll need. So you can place half of the sauce in a mason jar and freeze it for a later use. We love saving pasta sauces cause they freeze and re-heat very well.
You could easily just make another batch of the pasta, and have the same exact meal all over again (which trust me, we’ve done). But this sauce is so versatile that you can use it on a ton of things:
- Scrambled Eggs
- Fried Eggs
- Toast
- Avocado Toast
- Huevos Rancheros
- Roasted Veggies
- Calzones
- Roasted Chicken
- Pizza Sauce
- Raviolis
- Grilled Cheese Sandwiches
- Lasagna
- Meatballs in Sauce (Check out our favorite meatball recipes here)
This is just a quick list to get the creative juices flowing, but it’s a great condiment that can go on almost anything!
17. Buy Ingredients in Bulk
It was such perfect timing that Alison’s recipe was posted at the start of the COVID 19 pandemic. Not only am I only wanting comfort food, but this recipe is perfect for those who only want to go to the grocery store like once a month.
All of the ingredients in this recipe can be purchased in bulk, and will last several months. Even the shallots can last up to 2 months when stored in a dry and cool place (think in a dark pantry). I like to buy enough ingredients to make the pasta sauce at least 3 times in a 2-month period. That might sound like a lot, but it’s just further proof that now that I’ve made this shallot pasta sauce, I just can’t imagine life without it.
That concludes our very thorough list of tips and tricks to perfecting this pasta recipe. We would love to hear if you’ve tried this pasta already yourself, and if you made any changes/additions.
If you liked this recipe, we recommend checking out our favorite meatball recipes post, located here.

